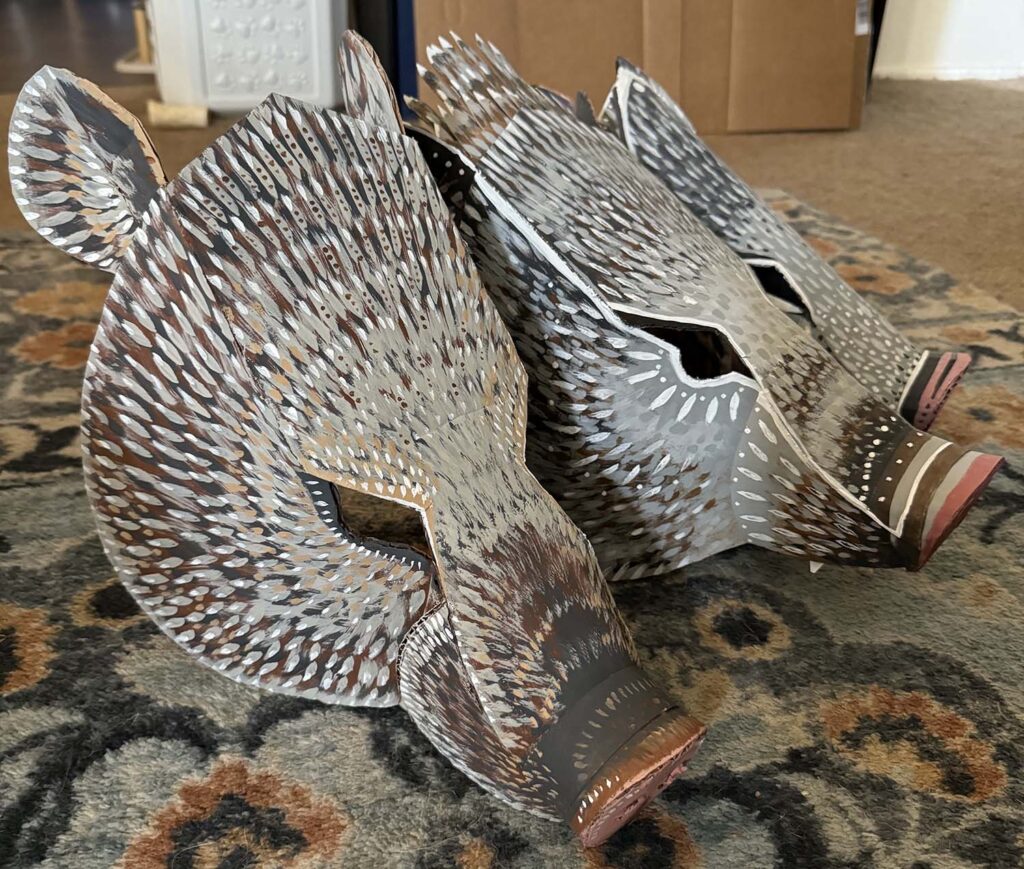
Are you still looking for a Halloween costume, or are you just a crafty, javelina fan? You can make this fun javelina mask to wear and/or hang on your wall. Total time: 2-4 hours. Cost: $0-30, depending on the materials you may already have at home.
Materials
- Printable Pattern
- Corrugated cardboard
- Scissors or box cutter
- Pen or pencil
- Hot glue gun
- Acrylic paint
- Ribbon or string
Step-by-Step Guide
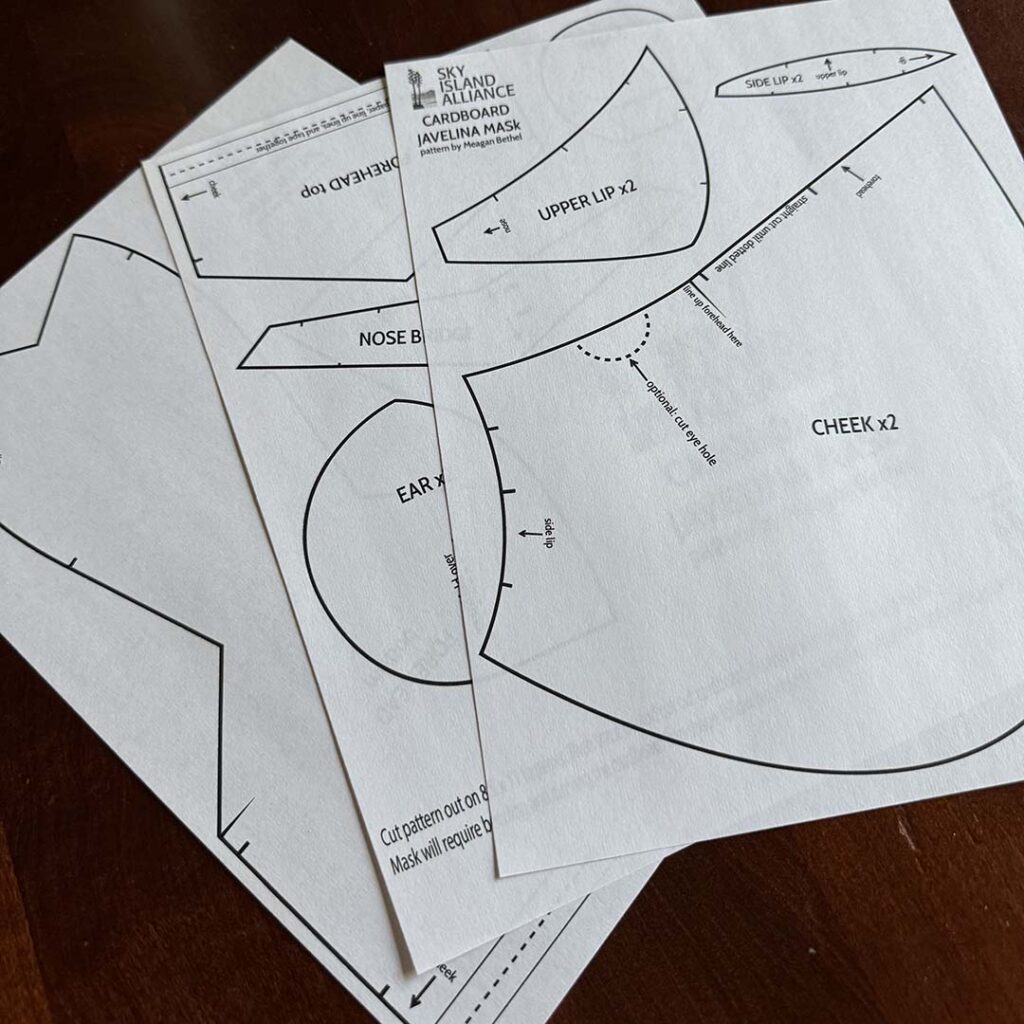
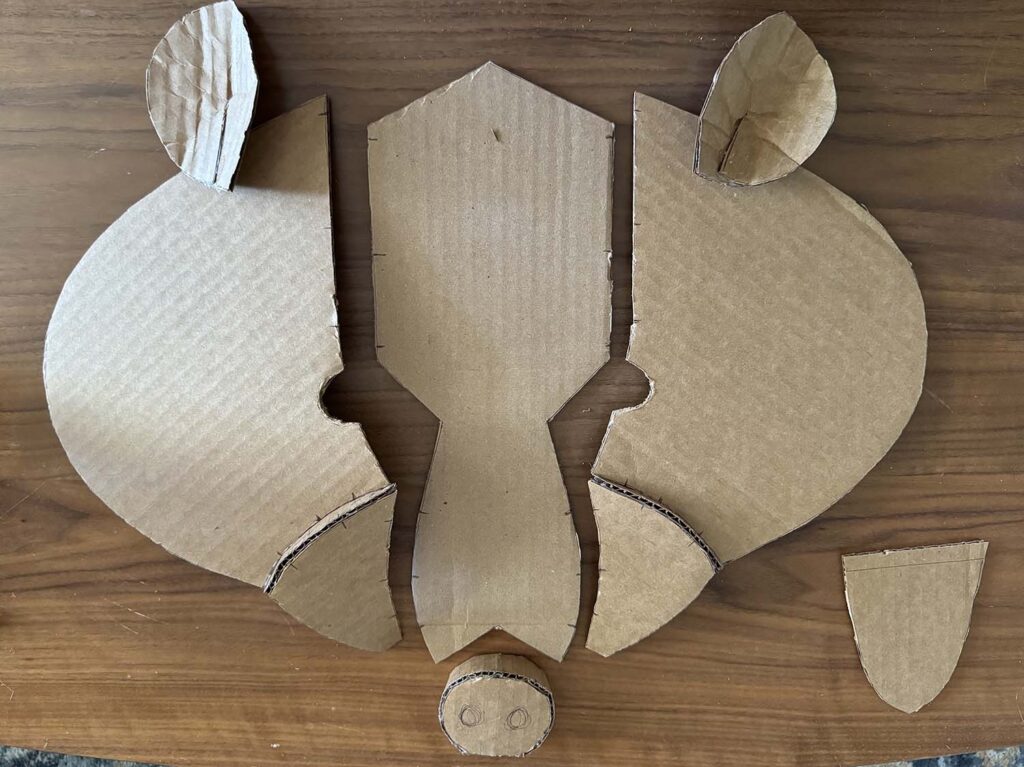
1. Print the three-page pattern above on 8.5” x 11” paper and cut out the various shapes.
2. Following the directions on the printout, tape together the two forehead pieces to make a single whole.
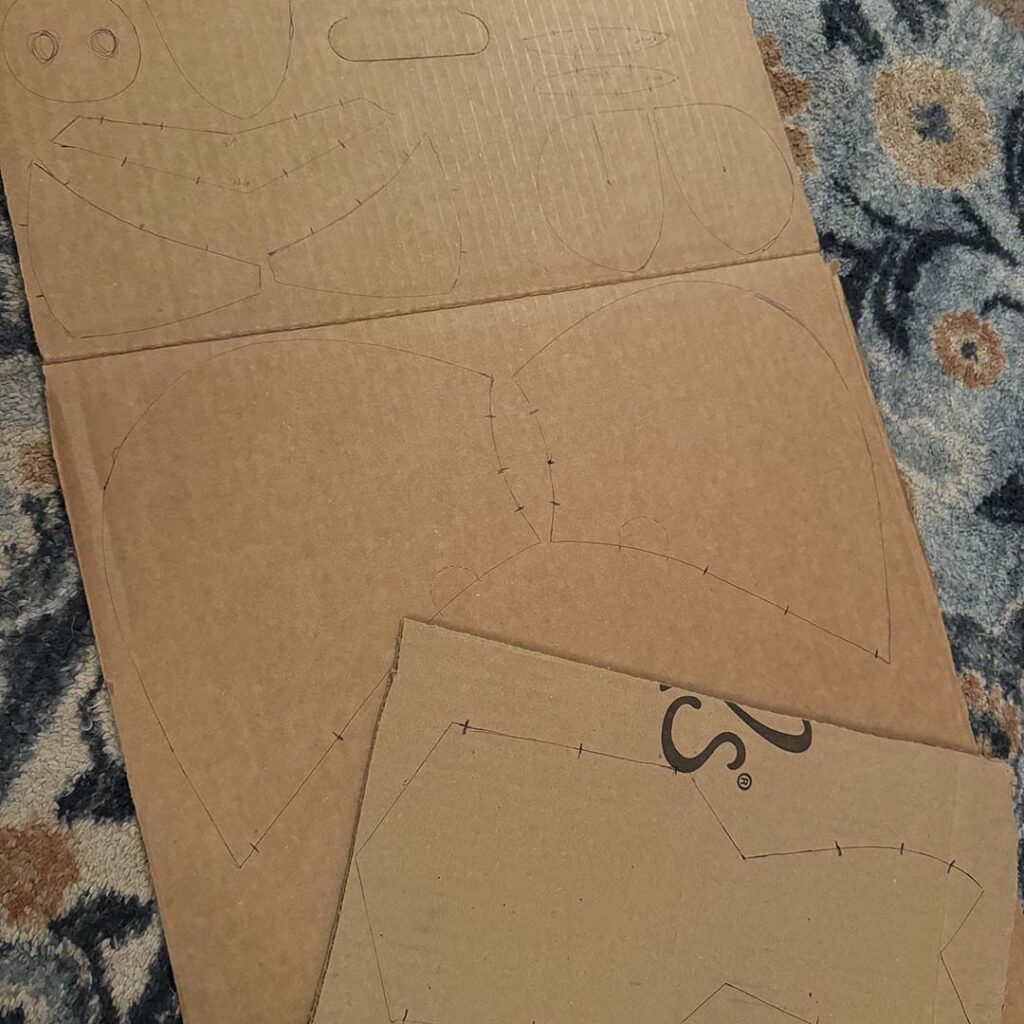
3. Trace the outer edge of your paper patterns onto your cardboard.
- Tip: Copy all lines and direction notes onto the cardboard to ease assembly later.
- Tip: Pay attention to the direction of the corrugation. This mask will involve bending, squishing, and shaping cardboard. If you follow the corrugation directions when tracing the pattern, it’ll help with bending in the direction you want.
4. Cut out your traced cardboard shapes using scissors or a box cutter. Cut out eye holes for added visibility, and cut the middle of the ear for folding.
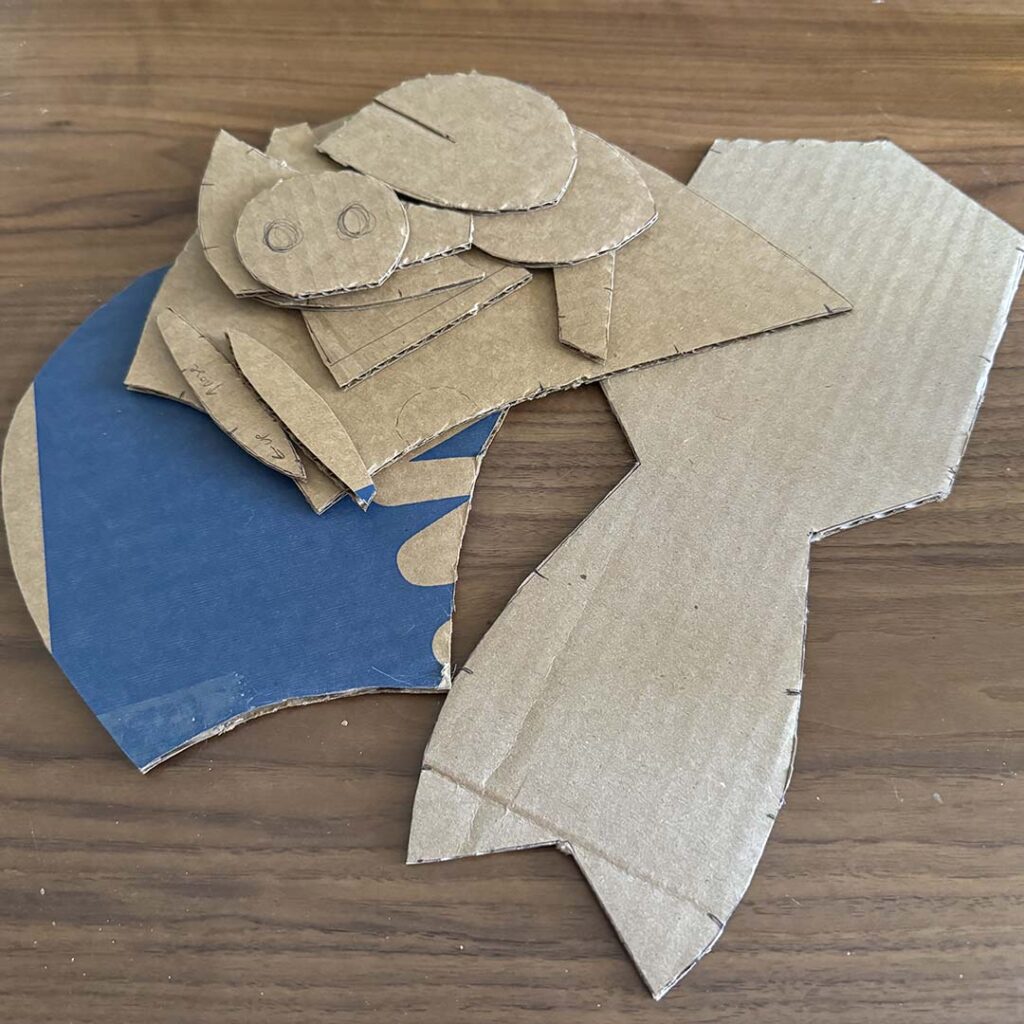
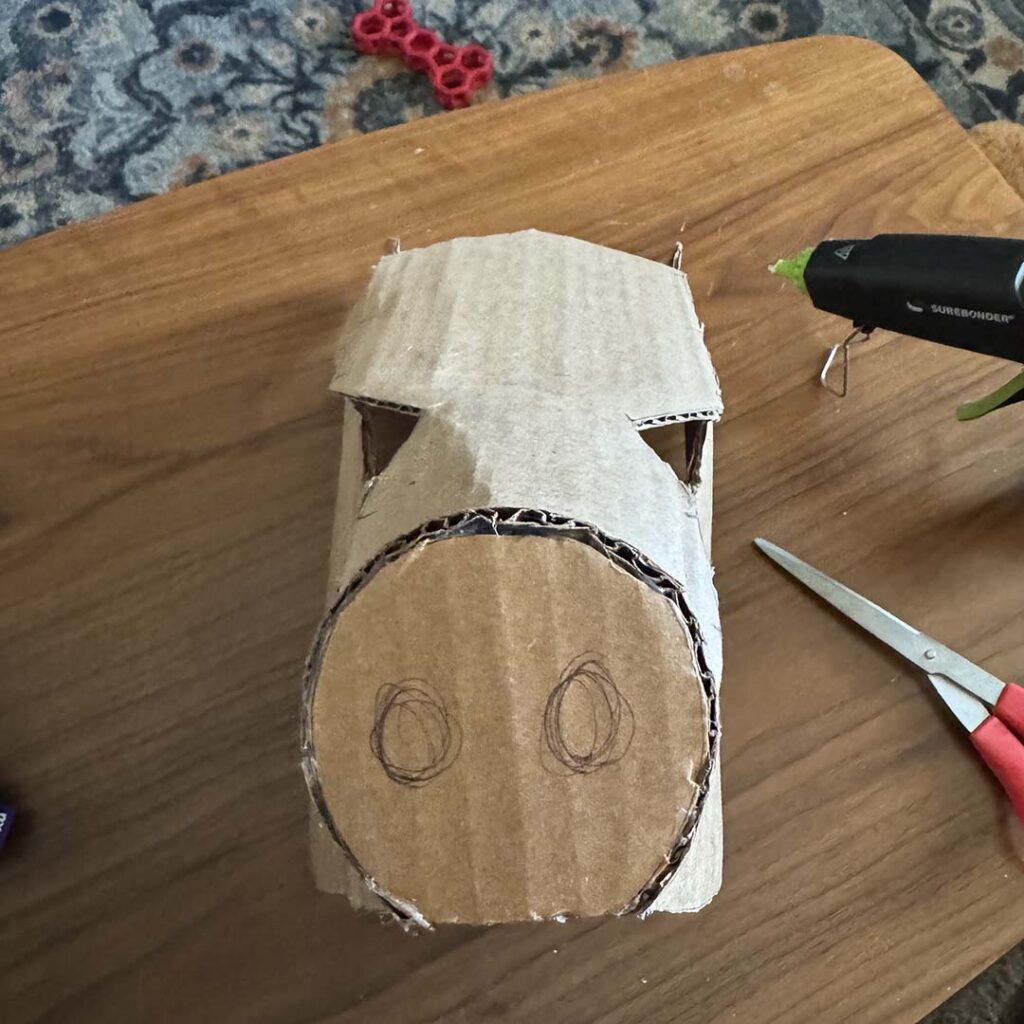
5. Using hot glue, start assembling the mask. This is my recommended assembly order.
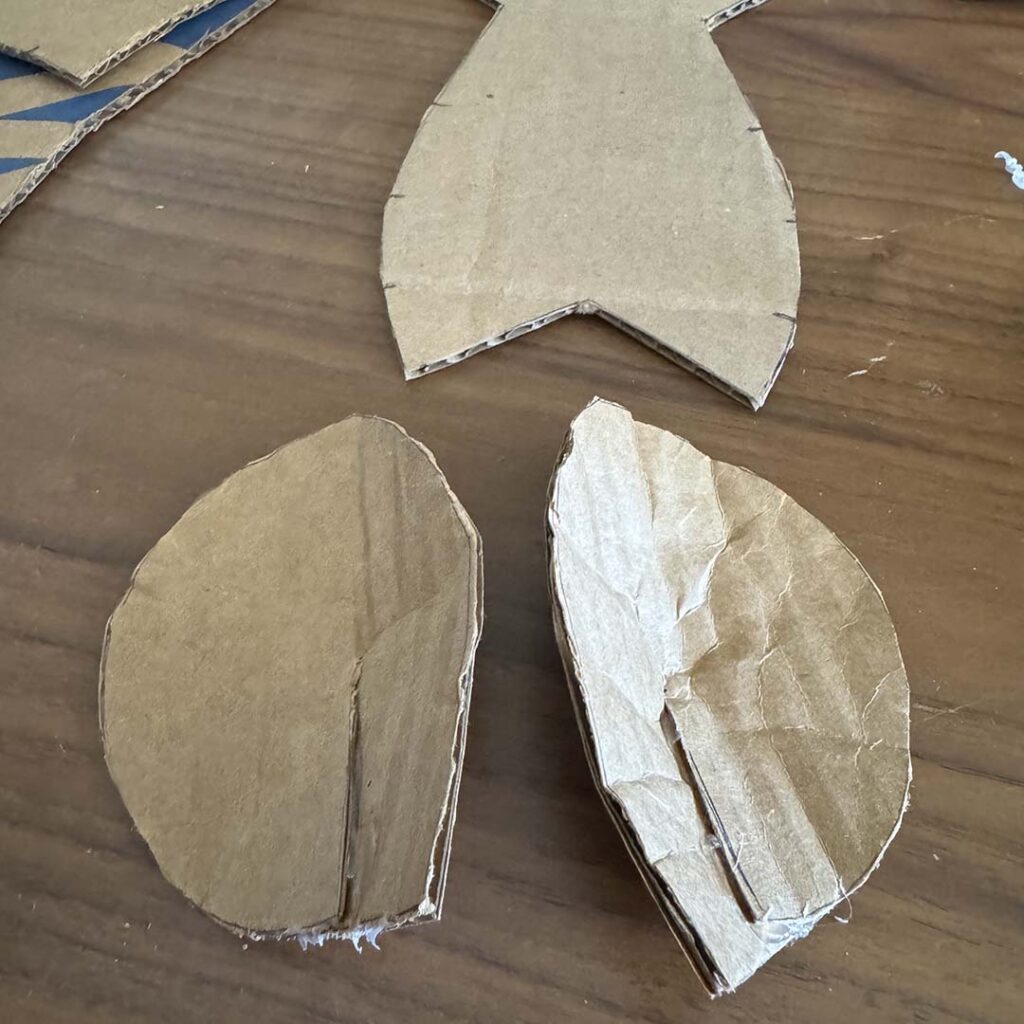
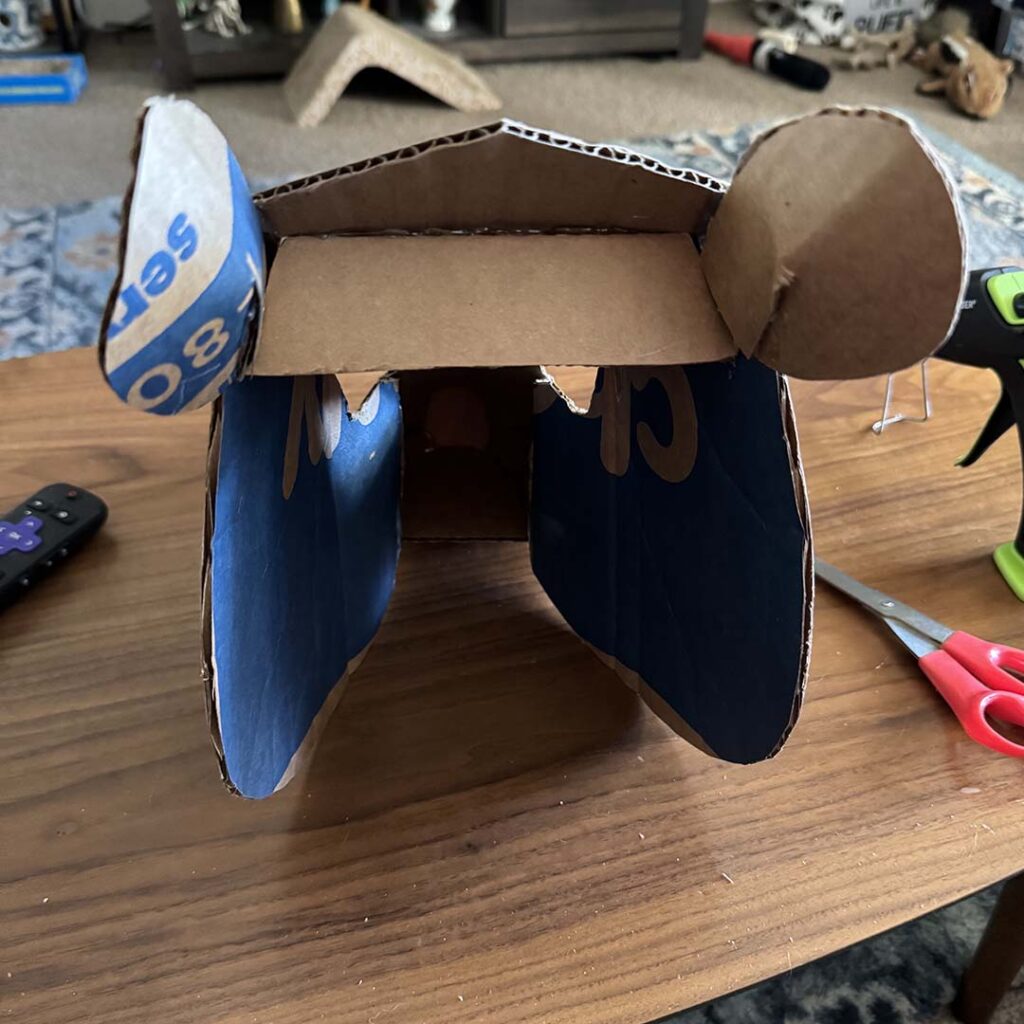
- Fold the ears over using the cut middle until you get a 3-dimensional shape. Glue the sides together.
- Curve and glue down the nose bridge over the top of the nose. Be careful to make sure it’s symmetrical on both sides!
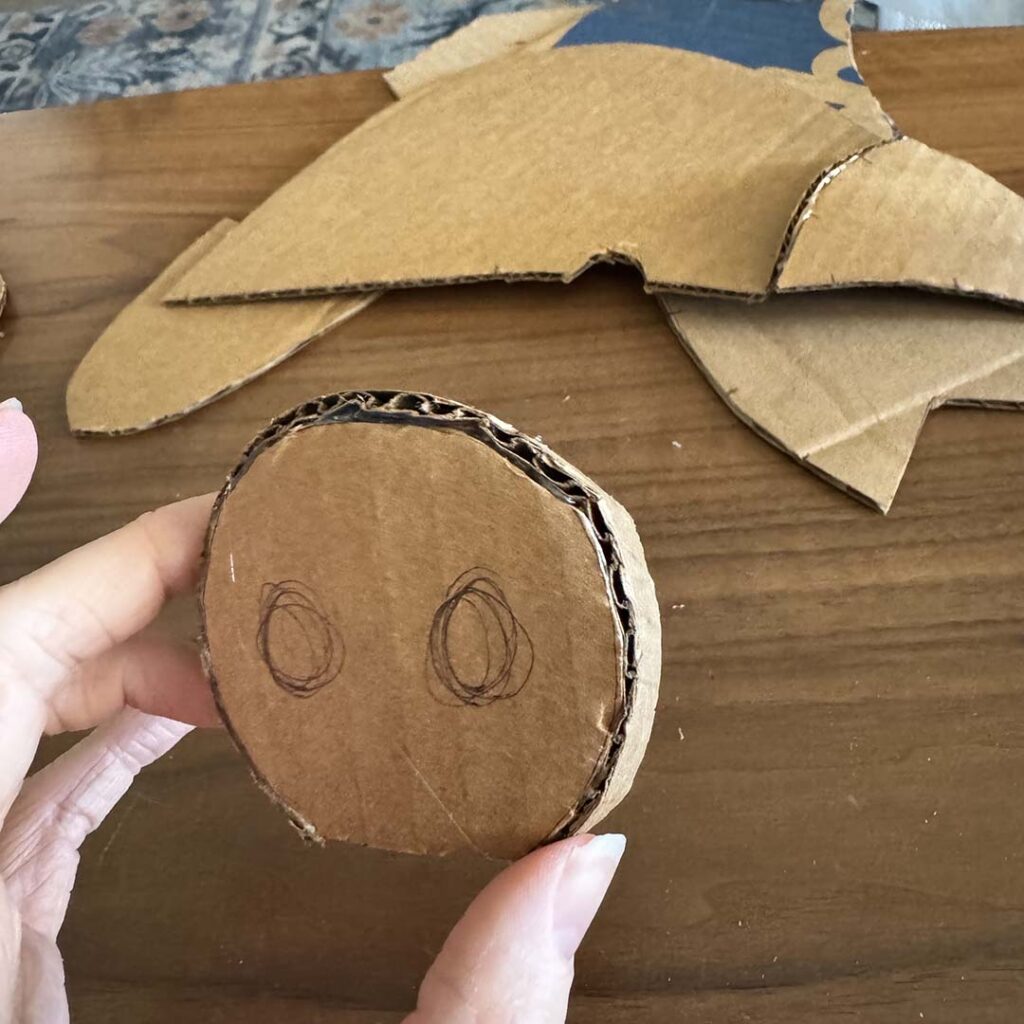
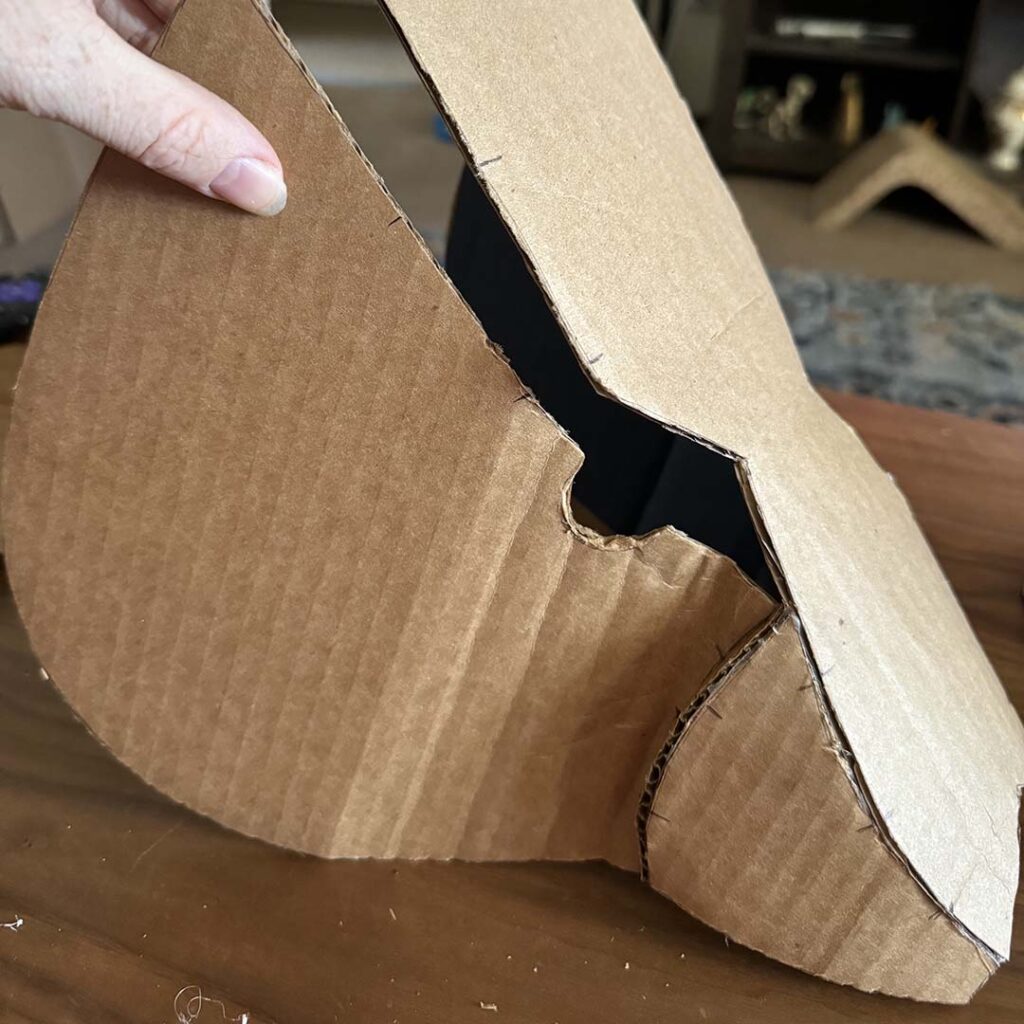
- Glue the sides together first (page 3 on the pattern printout) starting with curving the side lip over the upper lip, then gluing the side lip to the cheek.
- Once both sides are assembled, glue them to the forehead.
- Tip: Use the registration marks to guide you.
- Tip: You will have to bend and twist the cheeks to make it fit.
- Tip: The middle eye section remains open and unglued.
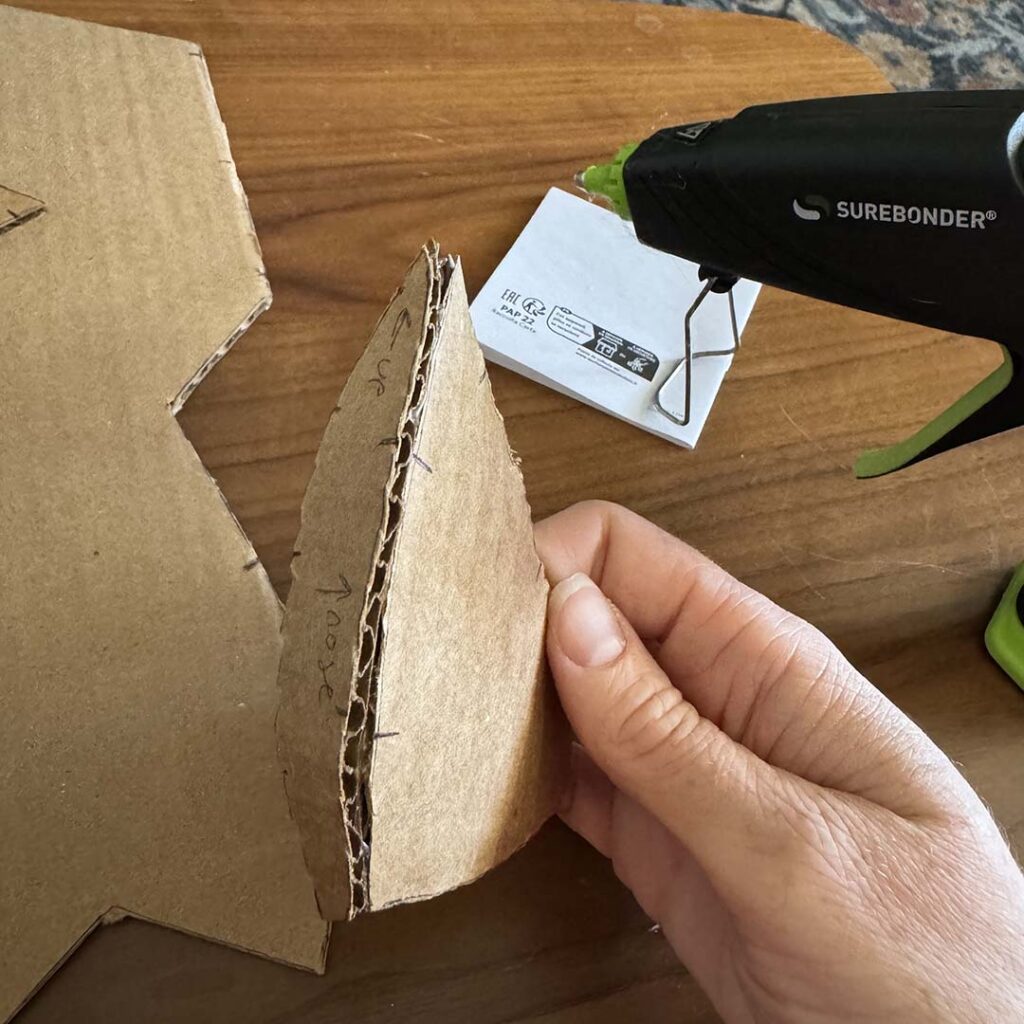
- To hold the shape of the snout, curve the bridge of the nose into an arch. Flip over the mask and glue the roof of the mouth into the space the upper lips make.
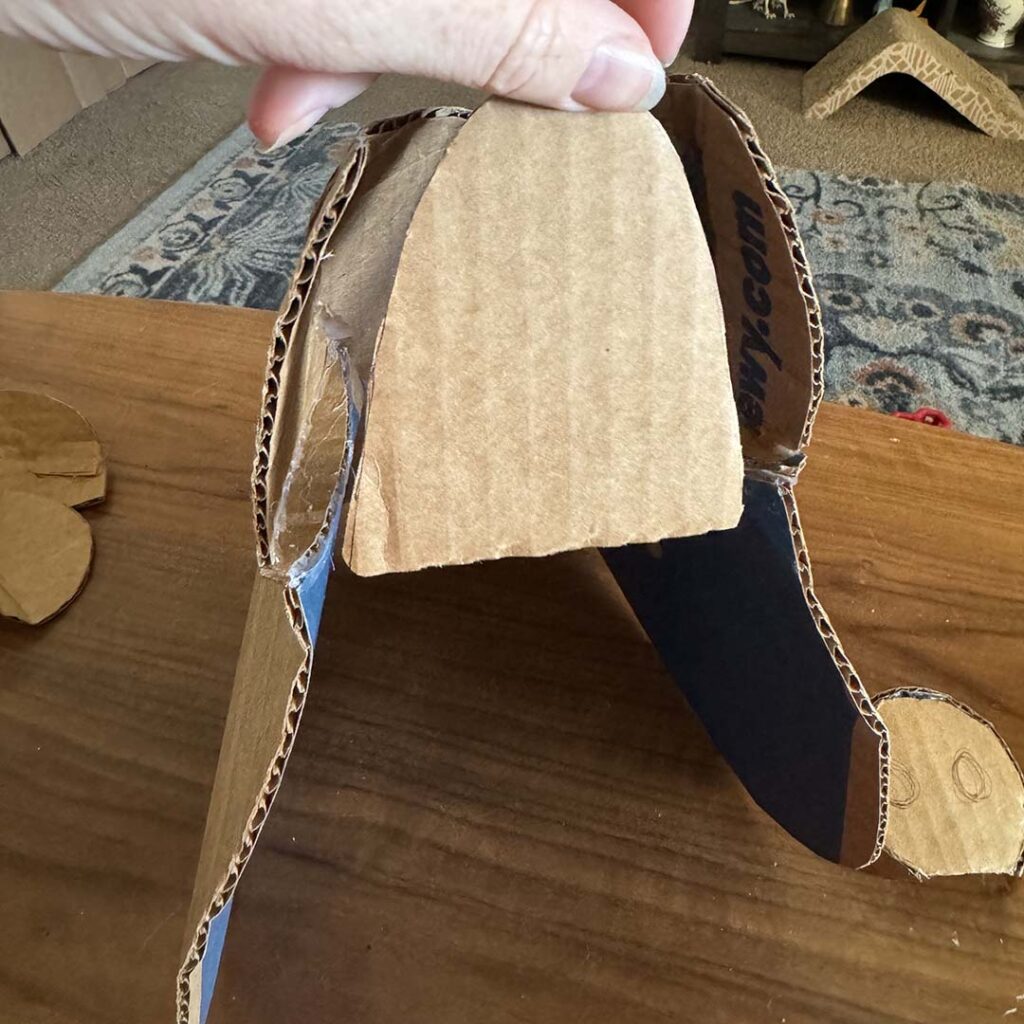
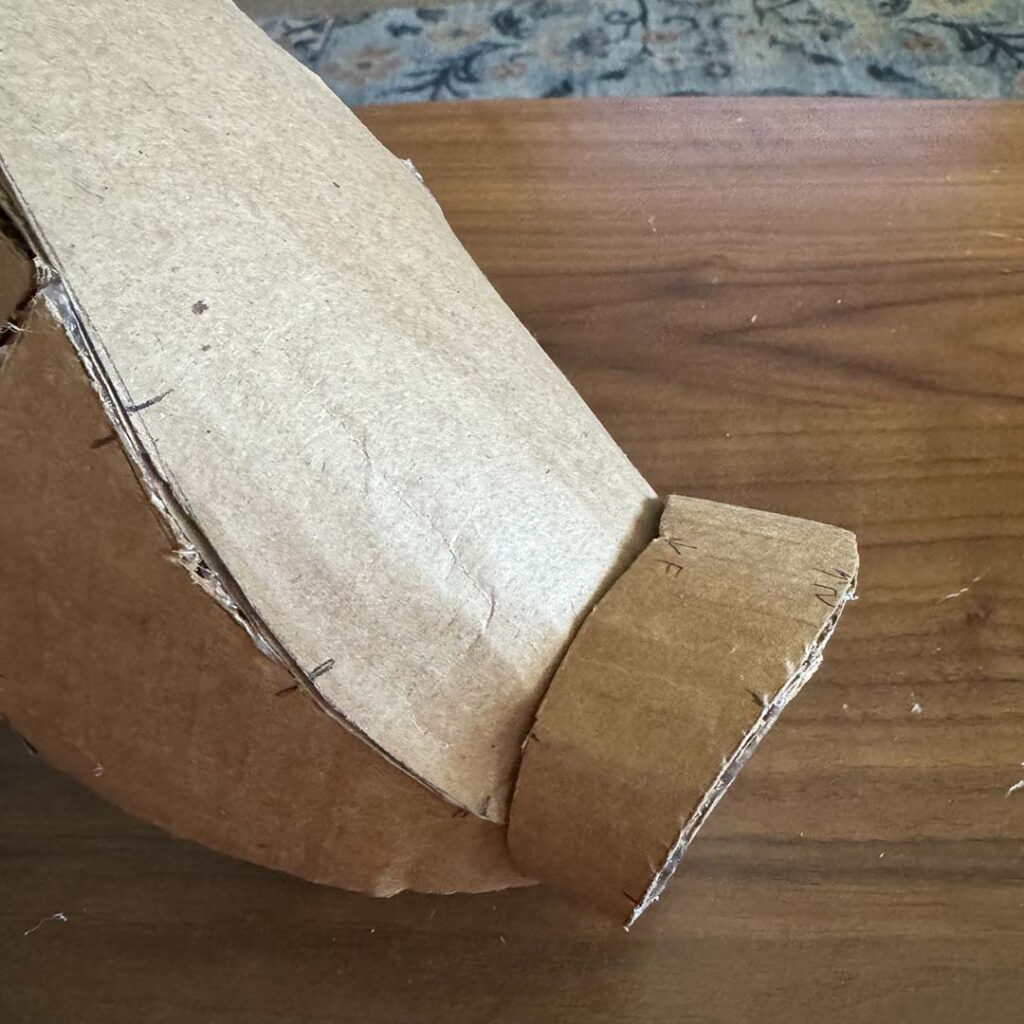
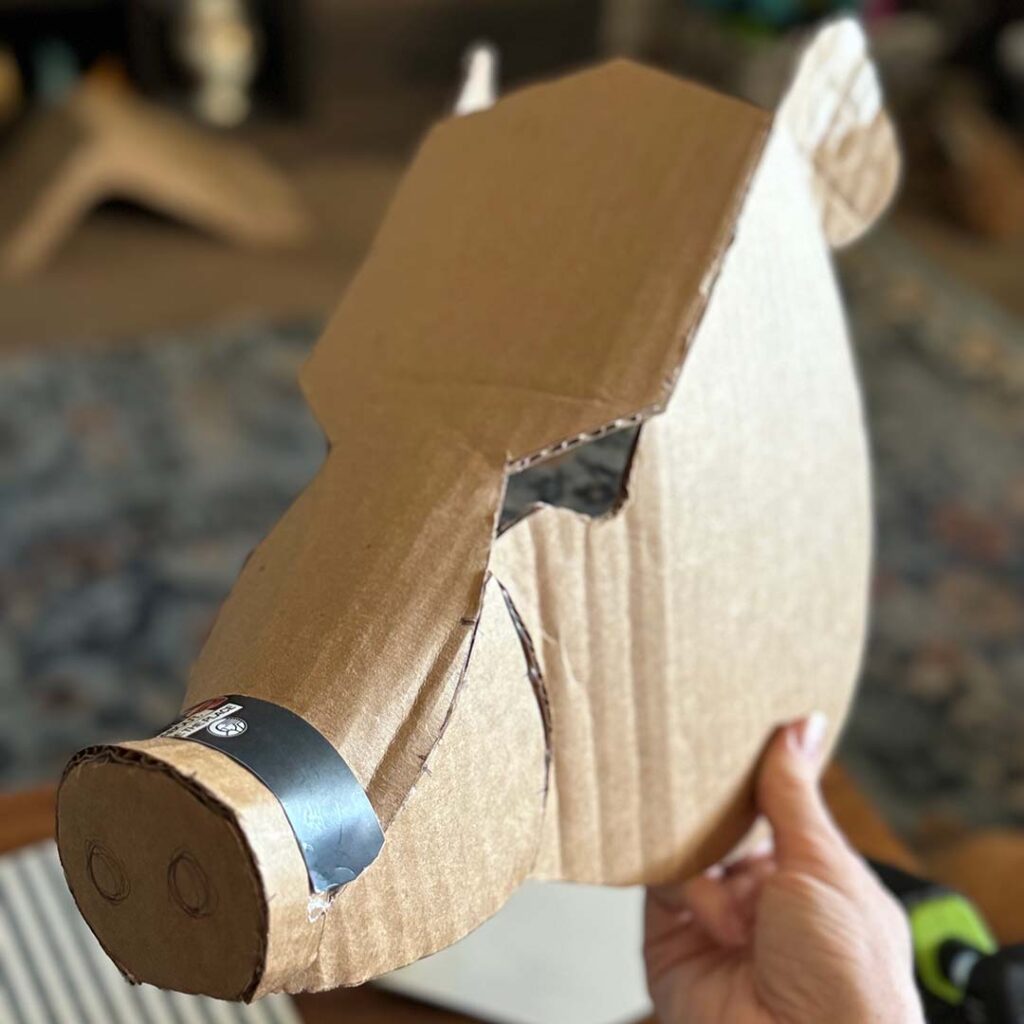
- Once the snout is made, you can slot the nose over that section like a cap and glue into place.
- Optional: Use a thin piece of cardboard or cardstock to cover the nose seam and make it a more fluid transition.
- Glue the ears behind the cheek sections.
6. The head is now done but is very narrow! To make it wearable on a human head, I recommend adding a piece of cardboard on the back of the head as a spacer to keep the sides open. Cut to the length that best fits your head.
7. It’s now ready to paint! I use acrylic craft paints. Javelina have a complicated grizzled coat pattern, so I recommend using a photo for reference. It’s up to you how to represent that. I used layered brush marks to get that effect. Add a ribbon to the back to make it a mask or hang it from the wall.
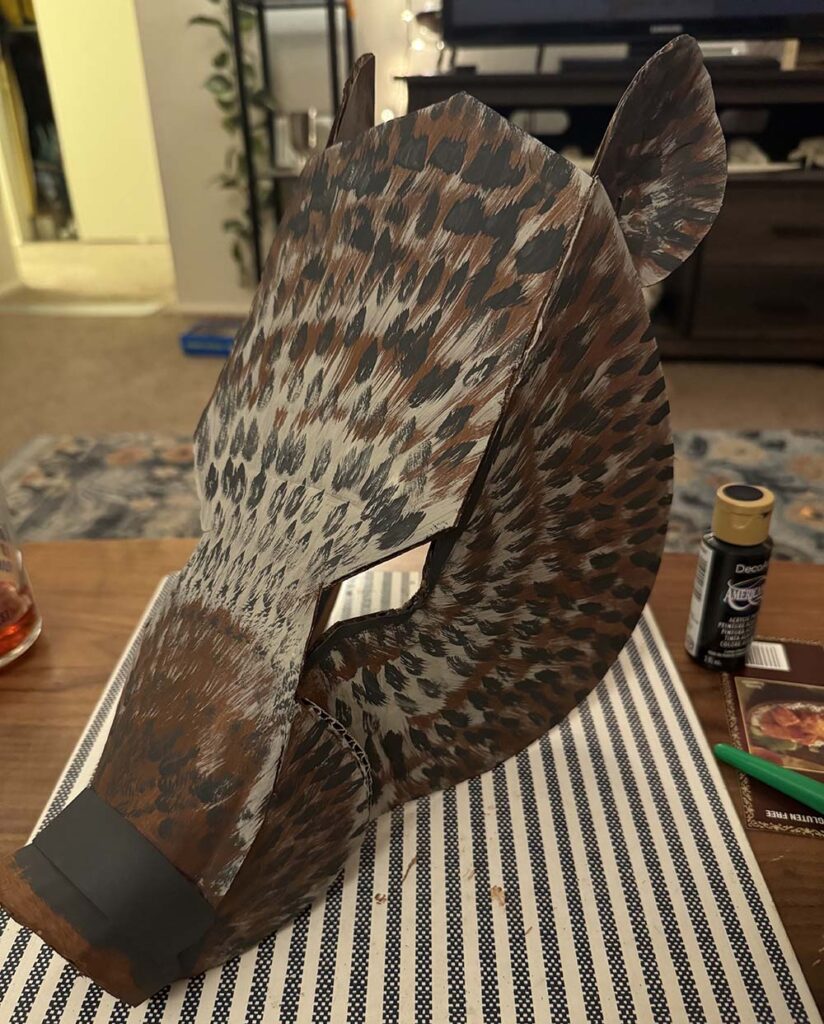
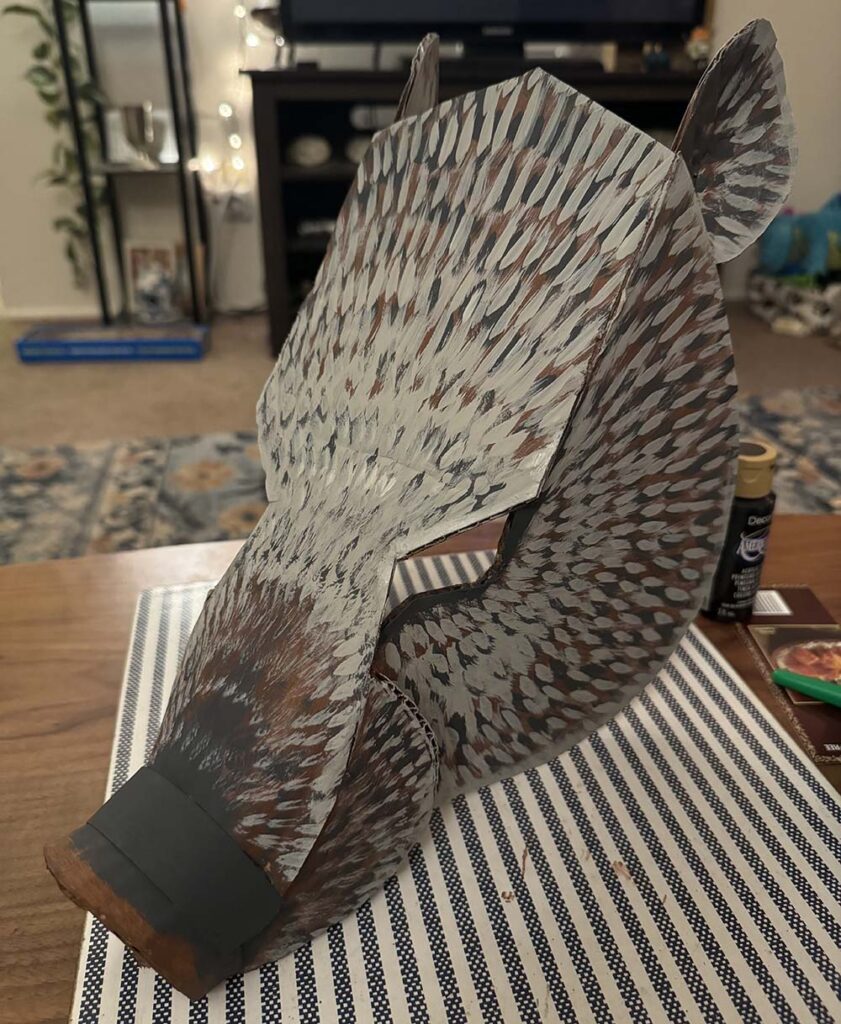
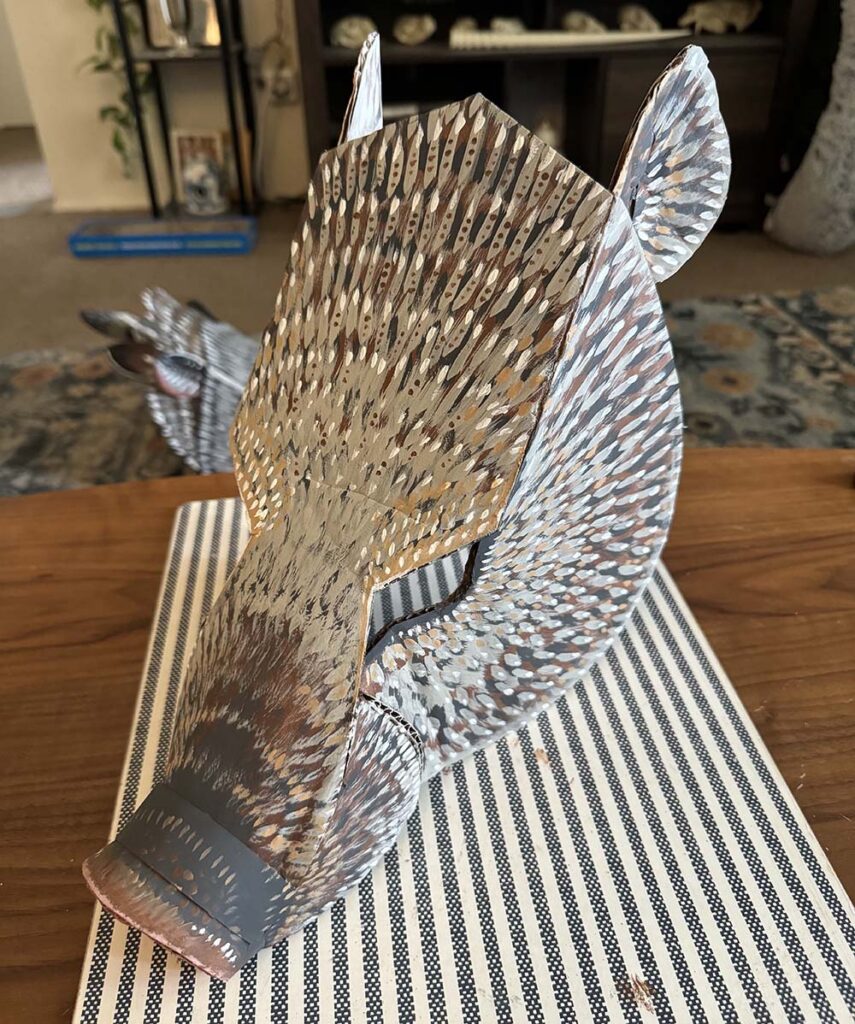
Now you have a javelina mask! As for the rest of your outfit, I recommend brown and gray clothing, a white collar or necklace (pearls?), black gloves and shoes, and a no-nonsense attitude.
If you made this mask, tag us at @skyislandalliance! We’d love to see it. And if you thought this was fun, check out this how-to for a coati mask from a few years ago.
